home_and_garden

The Art of Propagating Elephant Ear Plants from Tubers

Learn the art of propagating elephant ear plants from tubers with proper planting techniques. Discover the process of replanting and growing these plants for a thriving garden. Explore sterilization methods and tips for successful sprouting and growth of elephant ear plants to cultivate lush foliage.

A visual guide to propagating elephant ear plants from tubers and the proper planting techniques for successful growth.

Understanding Tubers and Planting Techniques

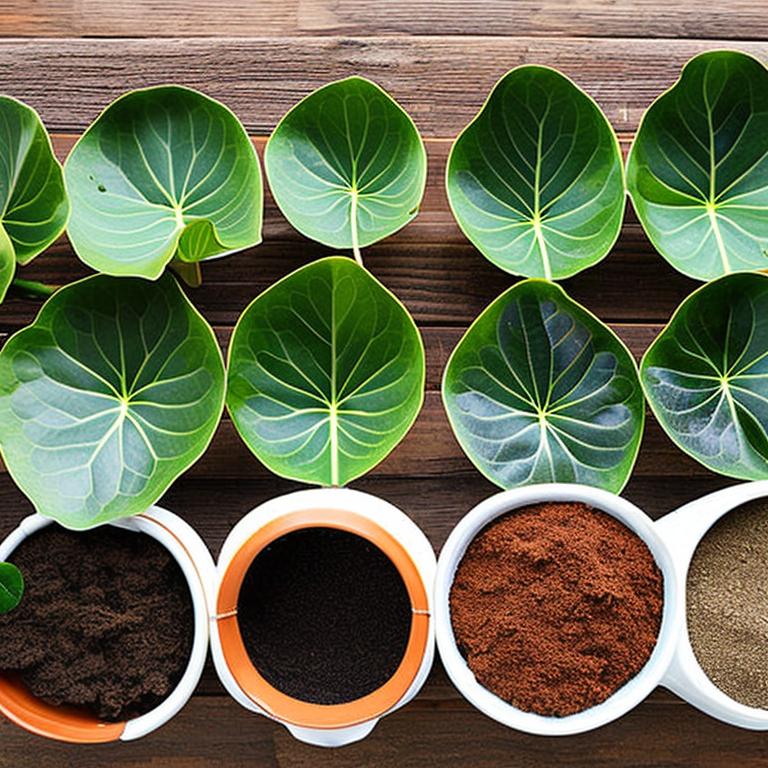
Tubers are a type of plant structure that stores nutrients and energy for the plant's growth and development. Elephant ear plants, known for their large, heart-shaped leaves, grow from tubers. Understanding the nature of tubers and the proper planting techniques is essential for successfully propagating elephant ear plants. When planting elephant ear plants from tubers, it is important to choose healthy and firm tubers. These tubers serve as the starting point for the growth of the plant. Before planting, it is recommended to inspect the tubers for any signs of damage or rot. Healthy tubers will have a firm texture and show no signs of decay. To plant elephant ear tubers, select a location with well-draining soil and partial shade. Dig a hole that is slightly larger than the tuber itself, ensuring that the tuber is placed horizontally with the growing points facing upward. Cover the tuber with soil, leaving the top exposed. Water the newly planted tuber thoroughly to help settle the soil and provide moisture for growth. Proper spacing is also crucial when planting elephant ear tubers. These plants require room to spread out and grow to their full potential. Leave adequate space between each tuber to allow for proper air circulation and prevent overcrowding. Understanding the planting depth is another key factor in successfully growing elephant ear plants from tubers. Plant the tubers at a depth where they are covered with soil but not buried too deeply. This will allow the tubers to establish roots and begin sprouting shoots towards the surface. By following these planting techniques and understanding the nature of tubers, you can set the foundation for healthy growth and development of elephant ear plants. Taking the time to properly plant the tubers will ensure a strong start for these striking and tropical-looking plants in your garden.

The Process of Replanting and Growing Elephant Ear Plants

Replanting elephant ear plants is a rewarding process that allows you to expand your garden and propagate new plants from existing ones. Understanding the steps involved in replanting and growing elephant ear plants is essential for successful propagation and healthy plant development. When it comes to replanting elephant ear plants, the first step is to carefully dig up the existing plant, taking care not to damage the tubers. Gently loosen the soil around the plant and lift it from the ground, being mindful of the delicate roots and tubers. Once the plant has been removed from its original location, it is important to inspect the tubers for any signs of damage or disease. Trim off any damaged or rotten parts of the tubers to promote healthy growth in the new planting location. Select a new planting site with well-draining soil and partial shade for the replanted elephant ear plant. Dig a hole that is large enough to accommodate the plant's root system and tubers, ensuring that the plant is positioned at the same depth as it was in its previous location. Carefully place the plant in the hole and backfill with soil, gently firming it around the base of the plant to provide stability. Water the newly replanted elephant ear plant thoroughly to help it establish in its new location and promote root growth. Regular watering and maintenance are essential for the successful growth of replanted elephant ear plants. Monitor the plant for signs of stress or dehydration and provide supplemental water as needed. With proper care and attention, your replanted elephant ear plant will thrive and continue to beautify your garden with its striking foliage.

Sterilizing and Propagating Elephant Ear Plants

Sterilizing tools and equipment is an important step in the propagation process of elephant ear plants to prevent the spread of diseases and ensure the health of the plants. Understanding the sterilization techniques and methods for propagating elephant ear plants is crucial for successful propagation and plant growth. Before propagating elephant ear plants, it is essential to sterilize your gardening tools, such as pruners and scissors, to prevent the transmission of pathogens between plants. To sterilize your tools, you can use a solution of bleach and water or rubbing alcohol. Dip the blades of your tools into the sterilizing solution and allow them to air dry before using them on your plants. In addition to sterilizing tools, it is also important to sterilize the planting containers and soil to create a clean environment for propagating elephant ear plants. Wash the containers with a mild bleach solution and rinse them thoroughly before filling them with fresh, sterile potting mix. When propagating elephant ear plants, you can use various methods such as division, offsets, or stem cuttings. Division involves separating the tubers of an existing plant to create new plants. Offsets are small plantlets that grow from the base of the parent plant and can be detached and replanted. Stem cuttings involve taking a cutting from the stem of the plant and rooting it in water or soil. After propagating elephant ear plants through your chosen method, provide the newly propagated plants with the appropriate care and growing conditions. Keep the soil consistently moist but not waterlogged, and place the plants in a location with bright, indirect light to promote healthy growth. By following proper sterilization techniques and selecting the right propagation method, you can successfully propagate elephant ear plants and expand your garden with these beautiful and tropical-looking plants.

Tips for Successful Sprouting and Growth of Elephant Ear Plants

To ensure successful sprouting and growth of elephant ear plants, it is important to provide the right conditions and care for these tropical beauties. Here are some tips to help you cultivate healthy and thriving elephant ear plants in your garden. 1. **Warmth and Humidity**: Elephant ear plants thrive in warm and humid environments. Make sure to place them in a location with consistent warmth and humidity levels to promote healthy growth and lush foliage. 2. **Watering**: Keep the soil consistently moist but not waterlogged. Elephant ear plants prefer well-draining soil, so be mindful of overwatering, which can lead to root rot. Water the plants when the top inch of soil feels dry to the touch. 3. **Fertilization**: Feed your elephant ear plants with a balanced fertilizer during the growing season to provide them with essential nutrients for healthy growth. Follow the instructions on the fertilizer package for proper application. 4. **Light**: Elephant ear plants thrive in bright, indirect light. Place them in a location where they can receive filtered sunlight or dappled shade throughout the day. Avoid exposing them to direct sunlight, which can scorch their leaves. 5. **Pruning**: Remove any yellowing or damaged leaves from your elephant ear plants to promote air circulation and prevent the spread of diseases. Pruning can also help maintain the plant's shape and appearance. 6. **Pest Control**: Keep an eye out for common pests that may affect elephant ear plants, such as spider mites or aphids. Treat any infestations promptly with insecticidal soap or neem oil to protect your plants. 7. **Winter Care**: In colder climates, elephant ear plants are not frost-tolerant. Before the first frost, dig up the tubers and store them in a cool, dry place for the winter. Replant them in the spring once the danger of frost has passed. By following these tips and providing the proper care and growing conditions, you can enjoy the beauty of elephant ear plants in your garden and watch them thrive and flourish with their impressive foliage.